Lighting and Rendering in 3ds max using Mental Ray
Here you will learn how to light and set up some materials for a nice result in a shorter time.
Let's change the setting of the sunlight and skylight to MR sun and MR sky and for fast calculation of Global illumination and activate the mr sun photons.
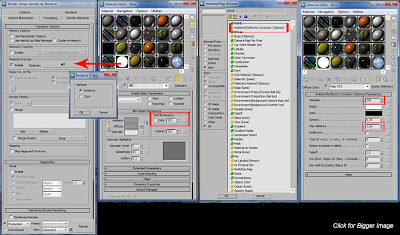
Now let's take a look at some materials actually we prefer to render some objects with ambient occlusion in max before occlusion pass for that's arc and design material have an option called special effects we can activate the ambient occlusion.
For the wall use a little bit of noise in Bump map:
and for the glass use a different kind of material called ProMaterials with a persona setting.
Now let's take a look in exposure control ( 8 ) keyboard short key, default when you choose Daylight, max tell you if you want to activate it, these are the settings...
For the indirect illumination use final gather and little bit of global illumination,don't use the diffuse bounces.
use some passes in render element for compositing in Photoshop and this is the cool stuff.
the render is going to be like below:


0 comments:
Post a Comment
Your precious comments/critics will help this site improve