Use Illustrator to create a funny Worm!
The Sketch
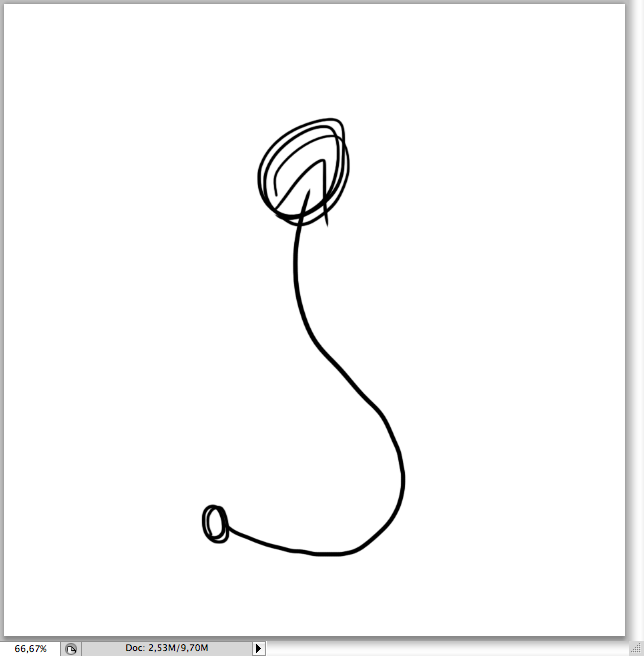
You can't make a proportional and equilibrated illustration without movement lines, geometric shapes and croquis and an appropriate sketch of it. So first make rough line of the movement/pose what ever character you want.
The Worm
After placing it on illustrator. the first thing is to create its shadows by using the ellipse tool (L).
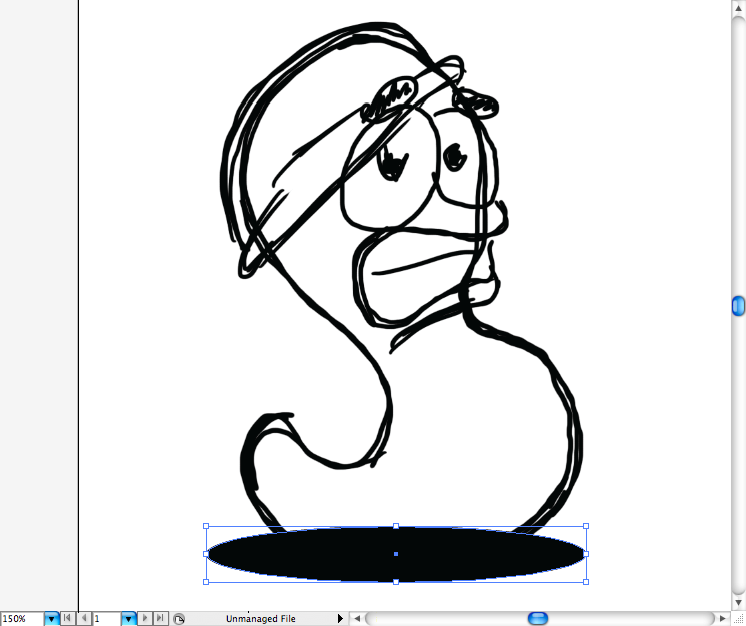
Draw the eyes using the pencil tool (N) or if you prefer do it using the pen tool (P).
And the same fo the strip.
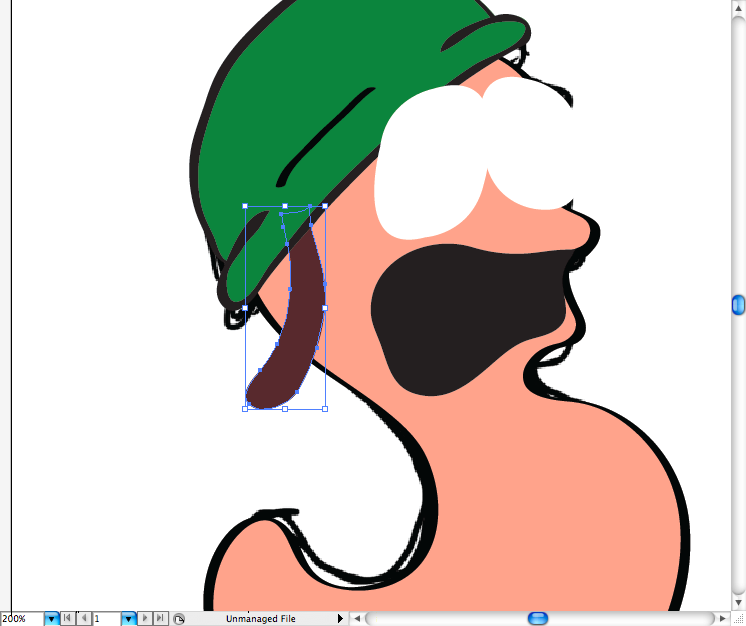
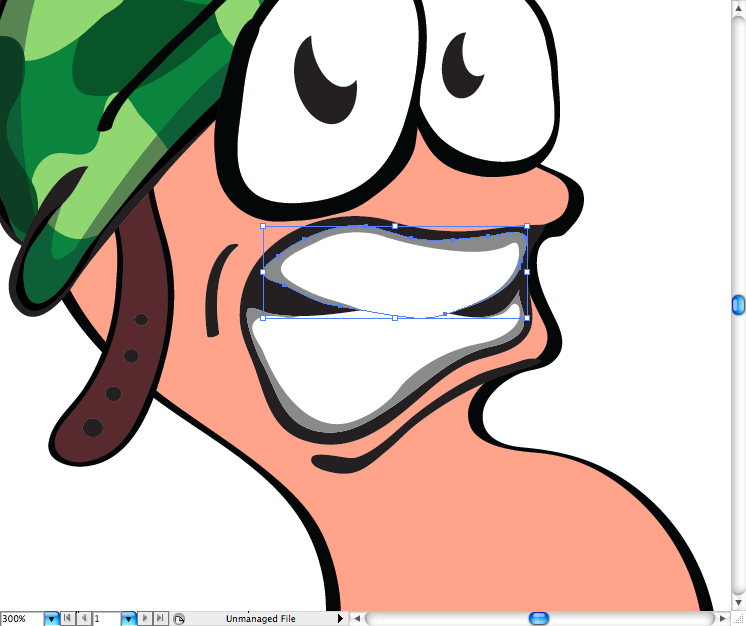
Using the pencil tool (N) let's draw the two lines of teeth, leave a space on the borders of each one, as it was gnashing then in panic.
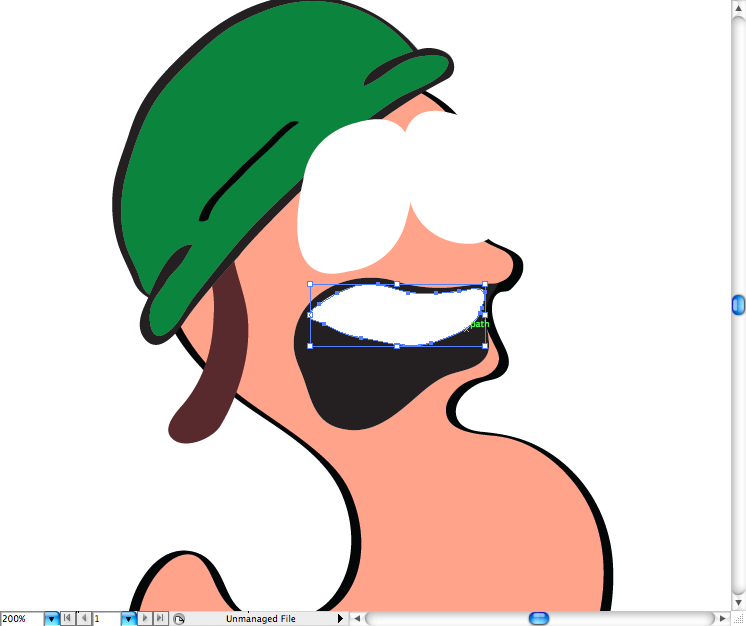
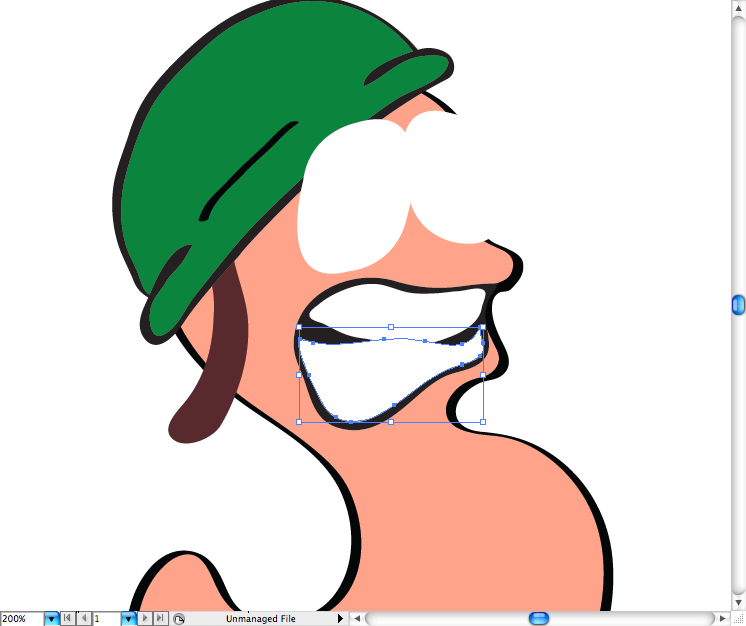
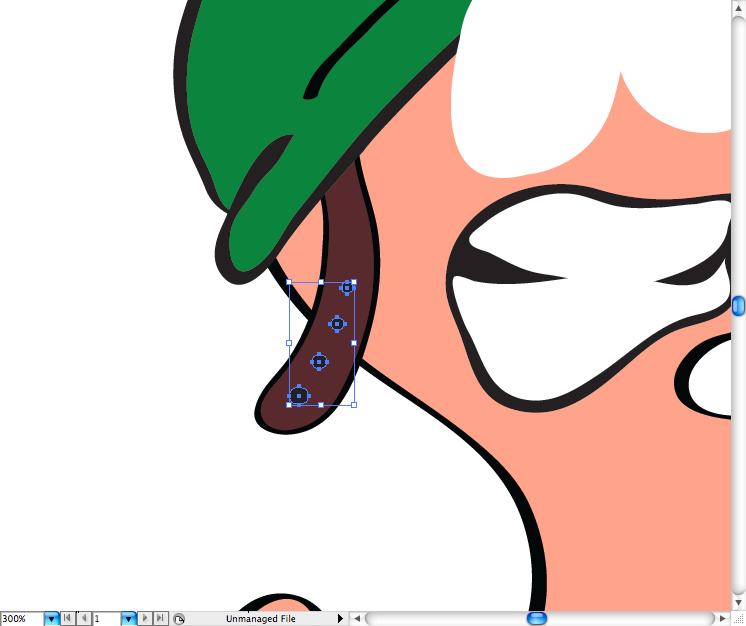
Add a stroke on the strip fill then expand it's apperance as already showed above.
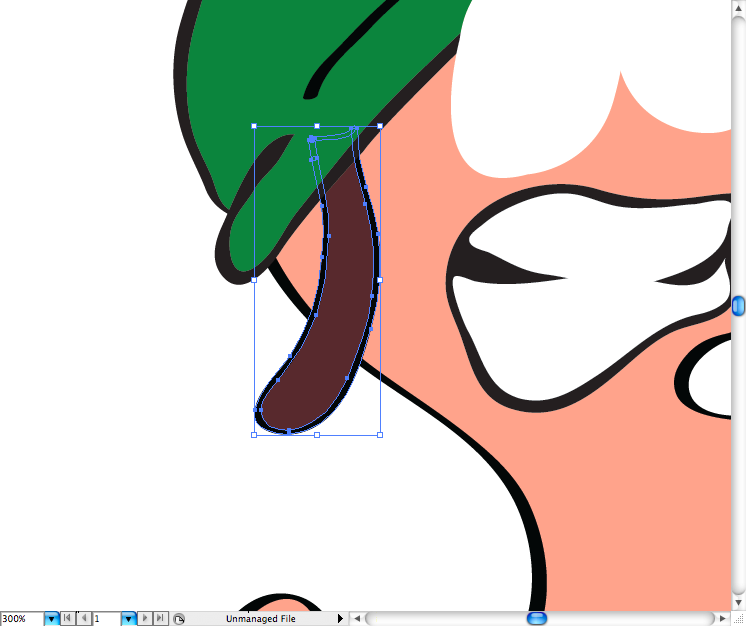
Add some circles using the ellipse tool (L) to indicate the holes used to adjust the helmet.
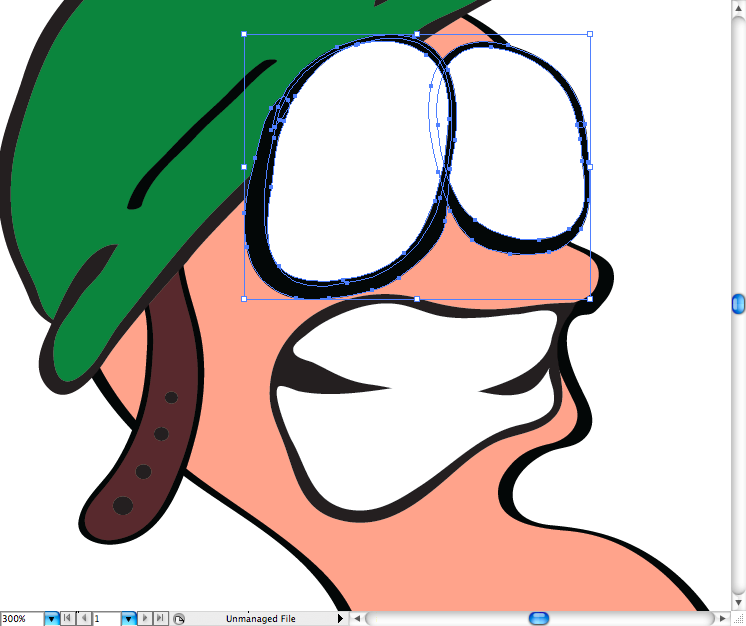
Add a stroke around each eye and expand their appearance too.



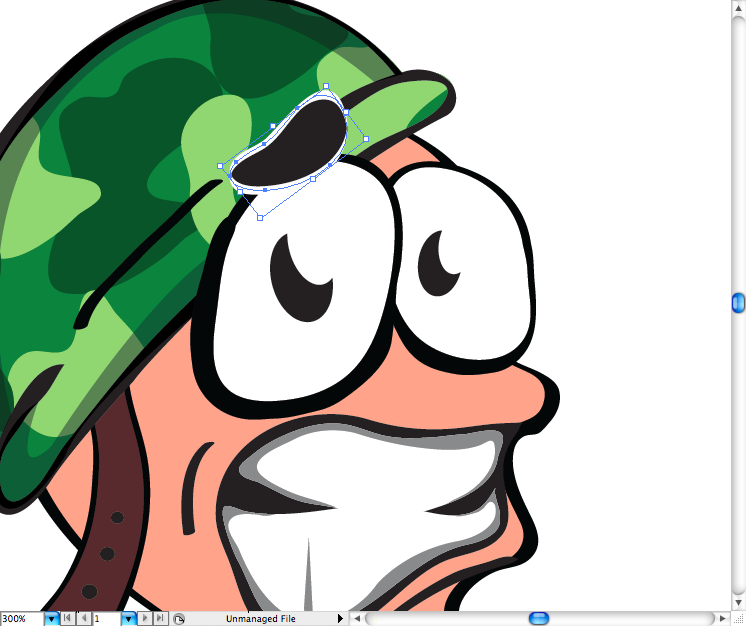
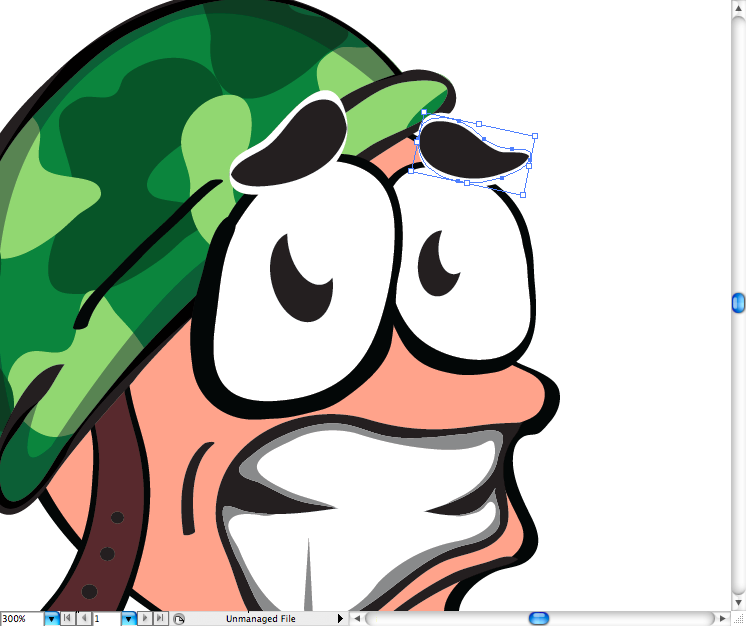
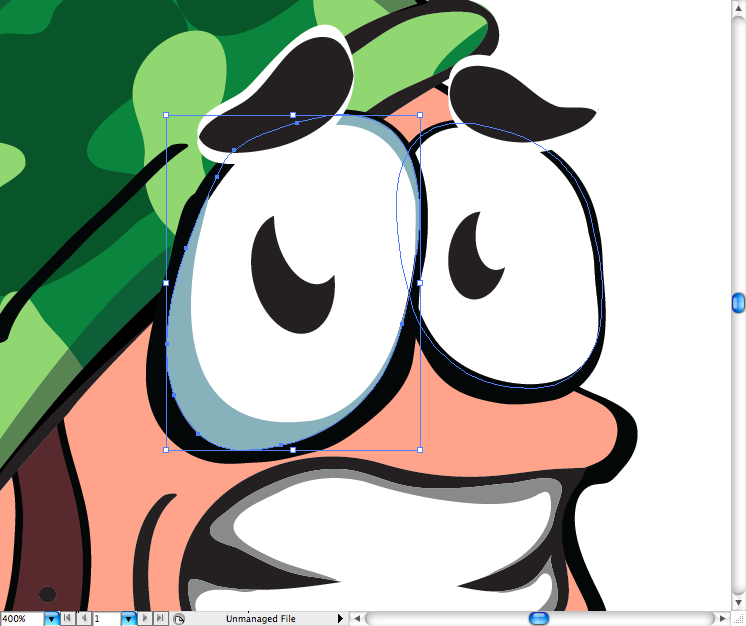
Repeat the same technique of shading used on the teeth on teach eye, it's pretty simple, should no take much time of you.

The Dynamite
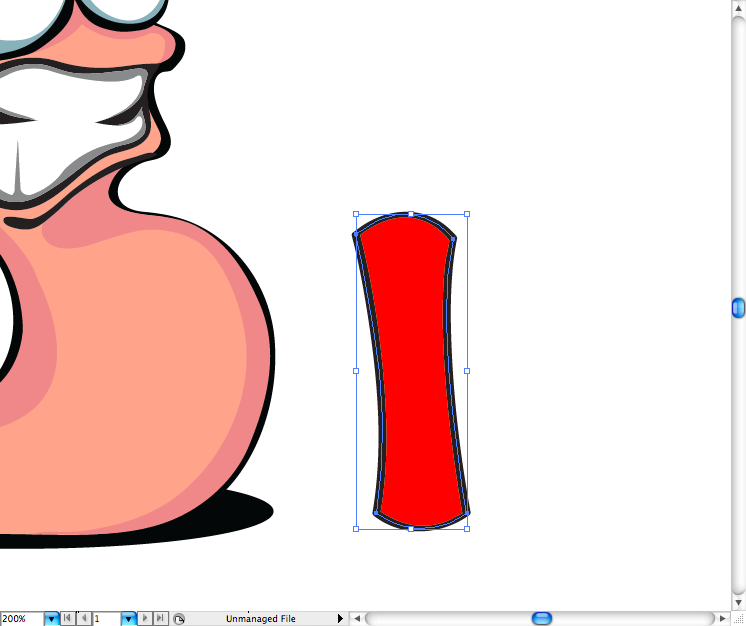
Using the pen tool (P) draw this dynamite body.
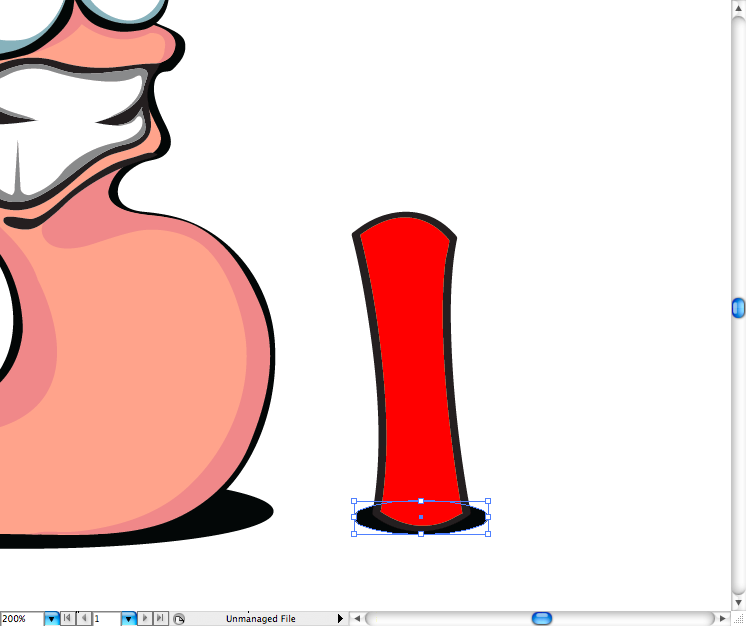
Using the ellipse tool (L) make the shadow of it.
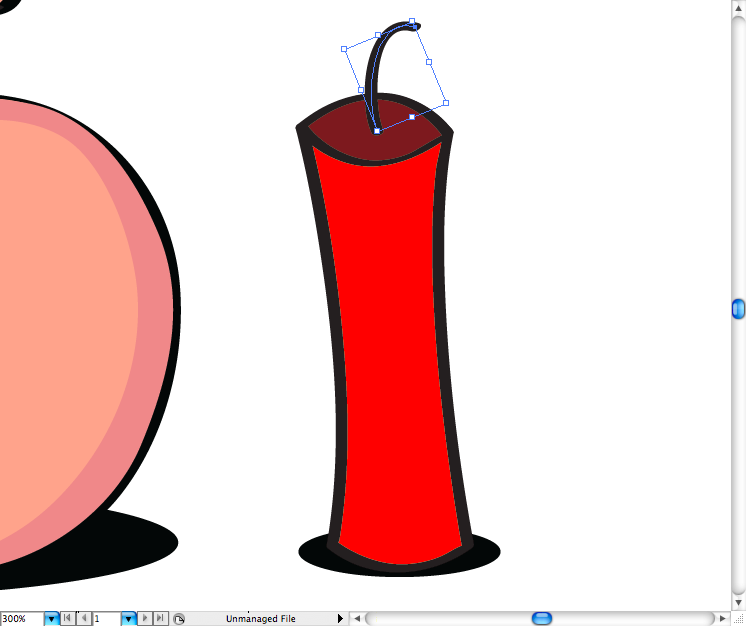
Trace the top of it to make a top, then added a darker red.

Using the brush tool (B) you can draw the fuse.

Also added some lights on the right side using the pencil too; (N).
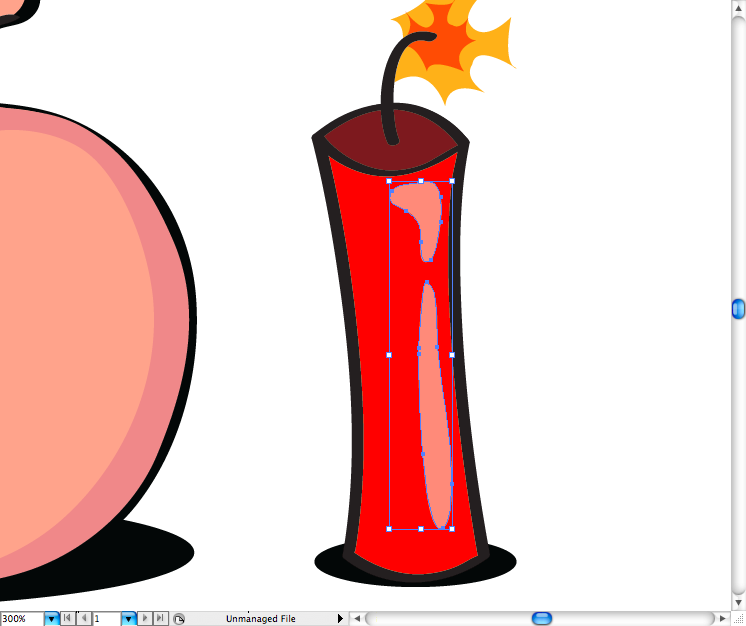
Made the same on the left side to make the shadow, that's it, it's finished.

Conclusion
Hope you guys digged this tutorial and learned some quick tips on making simple illustration.
This easy tutorial will show you some quick tips on how to make a simple but effective vector illustration inspired on the classic video game, Worms. If you are from the 80's or 90's you probably heard of it or had the chance to play it, it is "the predecessor of Angry Birds" in the words of a friend Mike Austin.On this quick tip we have a more traditional illustration approach, focusing less on tools and more on drawing and logic.
You can't make a proportional and equilibrated illustration without movement lines, geometric shapes and croquis and an appropriate sketch of it. So first make rough line of the movement/pose what ever character you want.

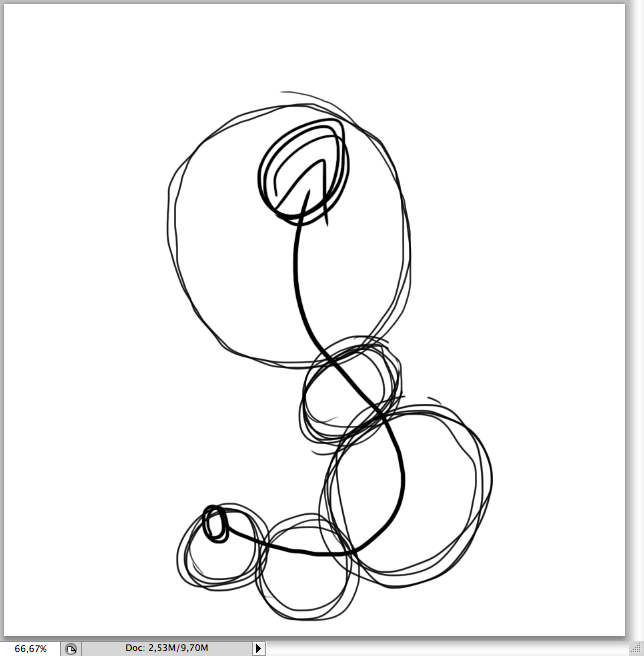
Start Photoshop to draw the sketch,divide the body in a circle that would be the head, neck, breast, belly and limbs (or sort of). This allow you to make a more proportional and equilibrated character.

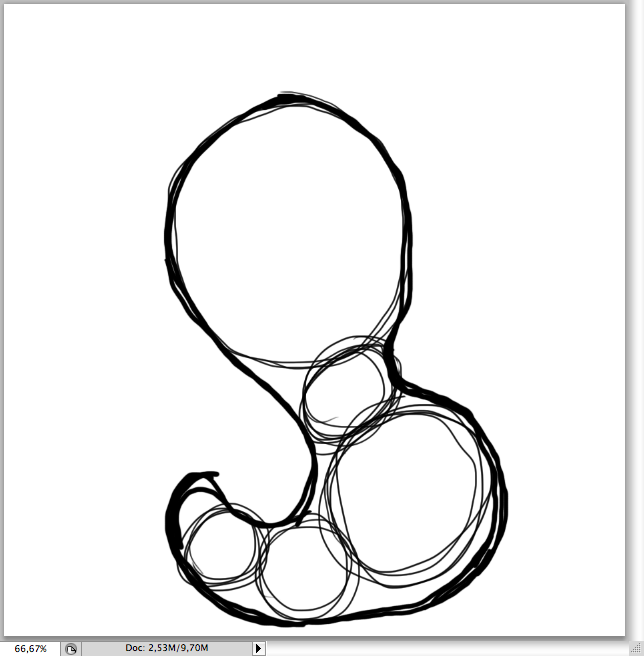
On the following make an outline to have a better Idea of the silhoutte.

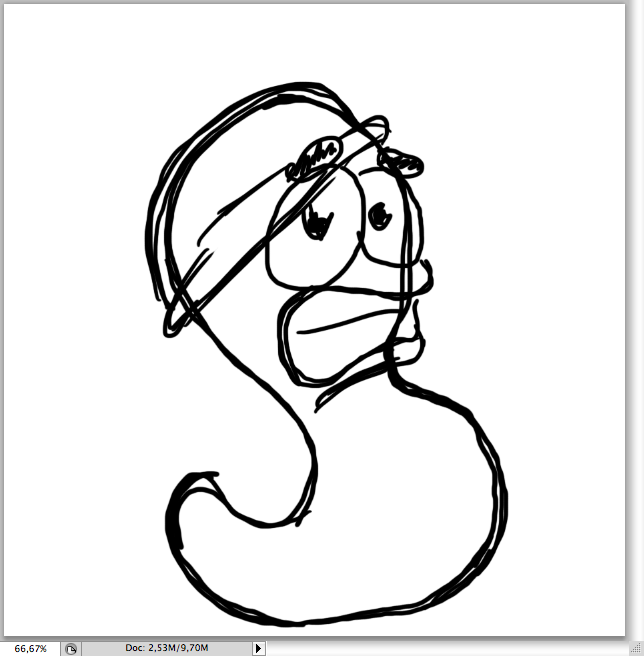
Try to place the main characteristics and expression of it.Erased the circles, now it's ready to "ink" using vectors.

The Worm
After placing it on illustrator. the first thing is to create its shadows by using the ellipse tool (L).

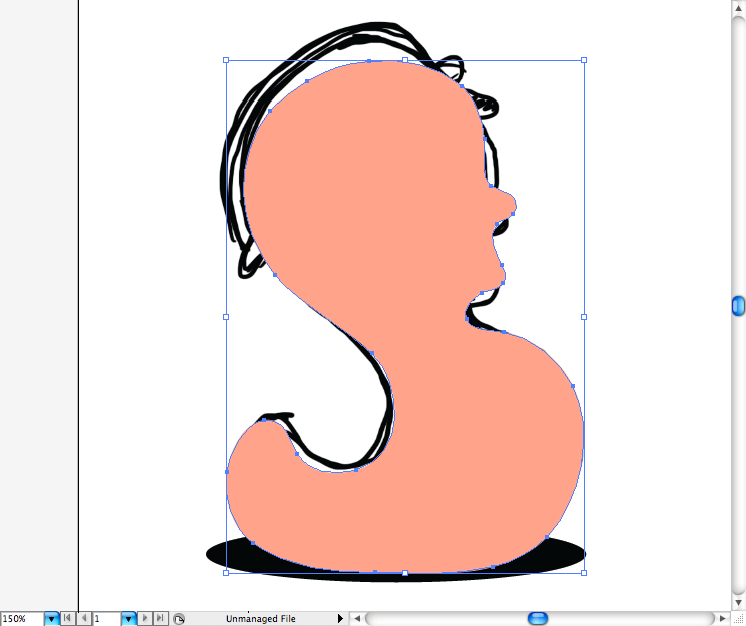
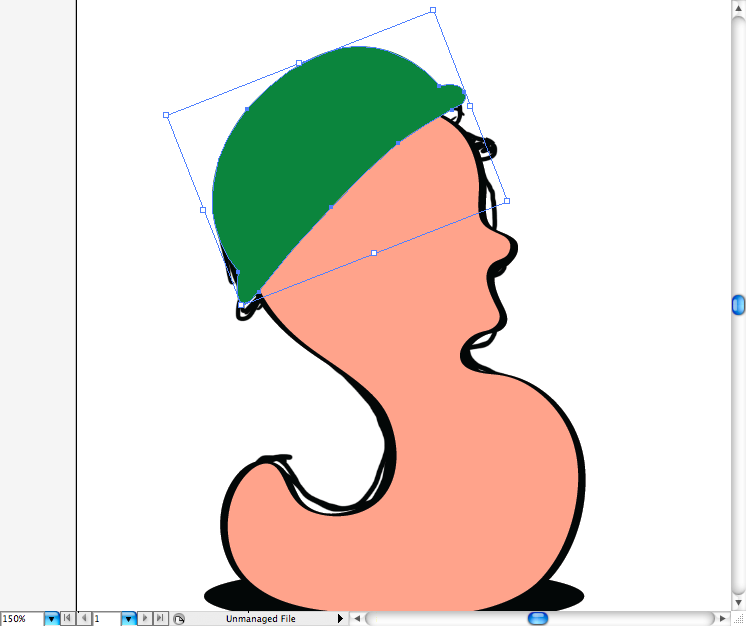
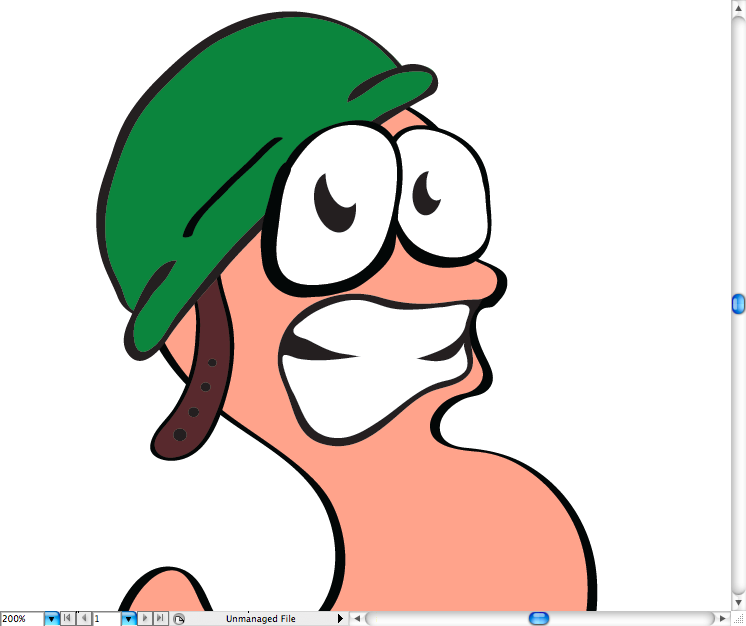
Using the pen tool (P), I made a rough trace of the silhouette in beige.

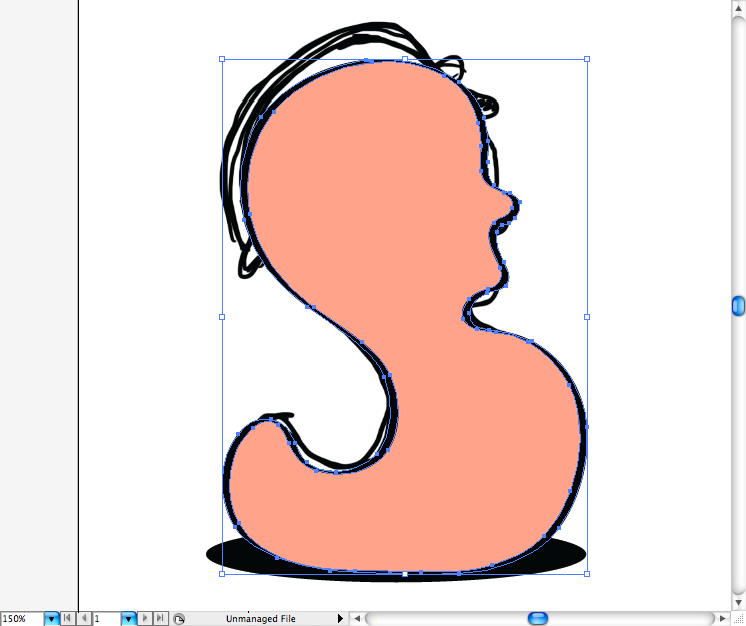
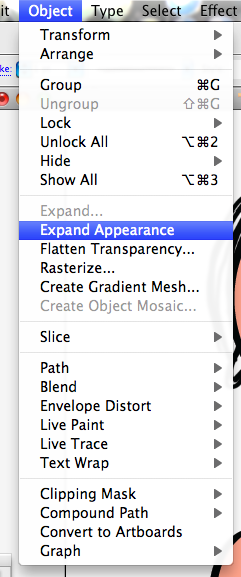
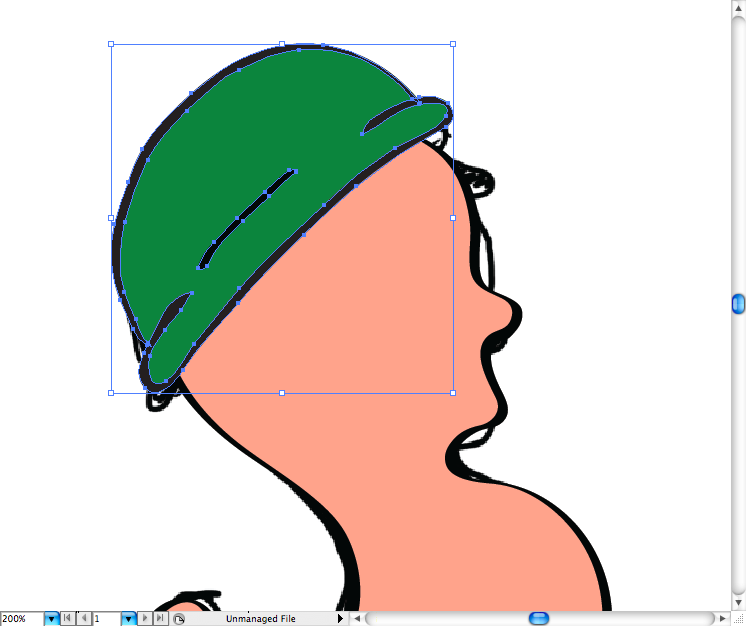
Add a loose stroke over it and expand it's appearance to make things easier when re sizing and adjusting it to look more hand drawn. You can do this by accessing Object > Expand Appearance.


Make a trace on the helmet using again the pen tool (P).

Use the brush tool (B) to make the stroke on it.

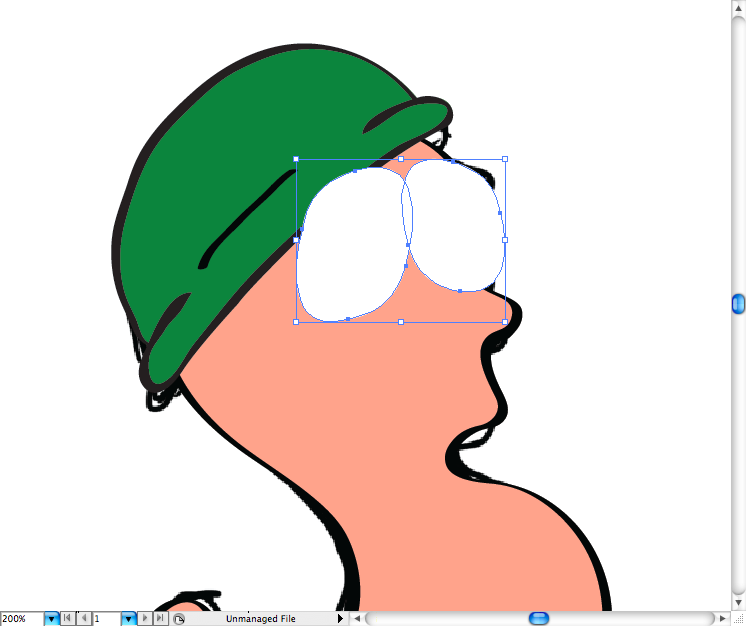
Draw the eyes using the pencil tool (N) or if you prefer do it using the pen tool (P).

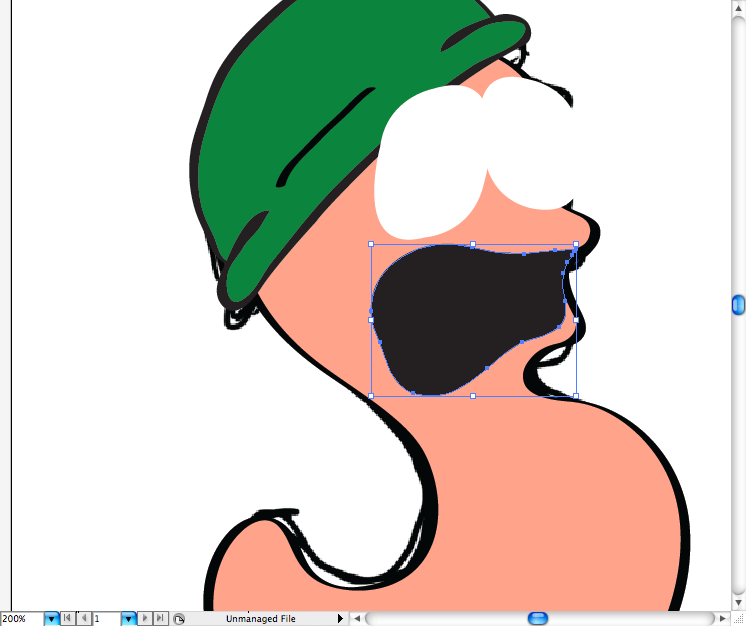
Same thing for the mouth hole.

And the same fo the strip.

Using the pencil tool (N) let's draw the two lines of teeth, leave a space on the borders of each one, as it was gnashing then in panic.


Add a stroke on the strip fill then expand it's apperance as already showed above.

Add some circles using the ellipse tool (L) to indicate the holes used to adjust the helmet.

Add a stroke around each eye and expand their appearance too.

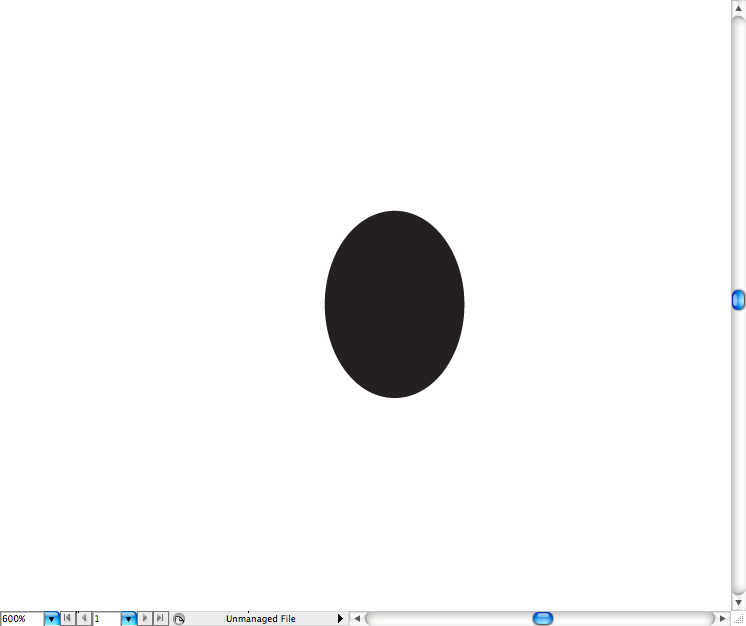
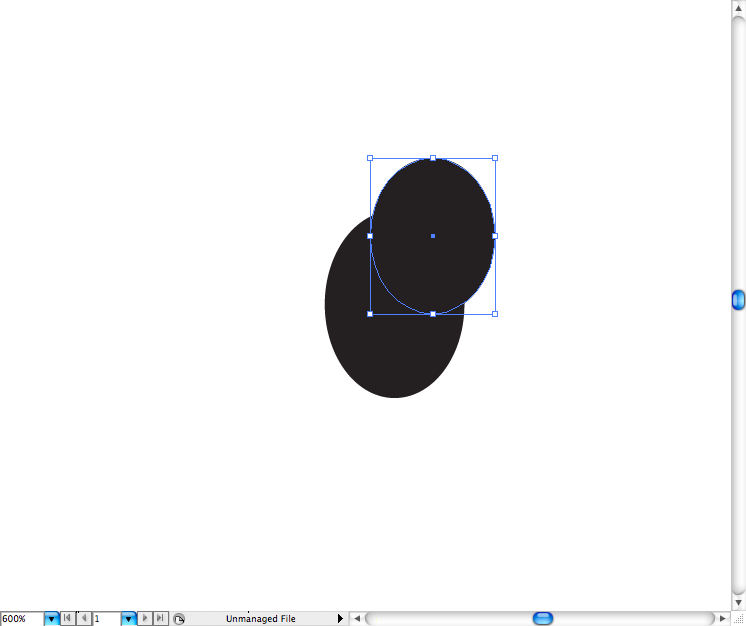
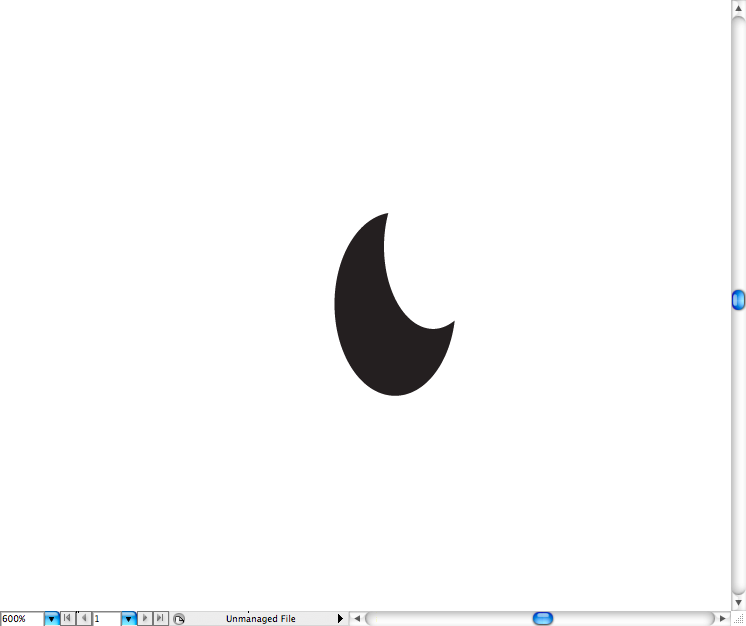
In order to make the eyes, first make a circle using the ellipse tool, make another one and place on the corner of the previous one.


Select both and now go to the pathfinder panel and choose the option called Minus Front.


Place them inside the eyeballs.

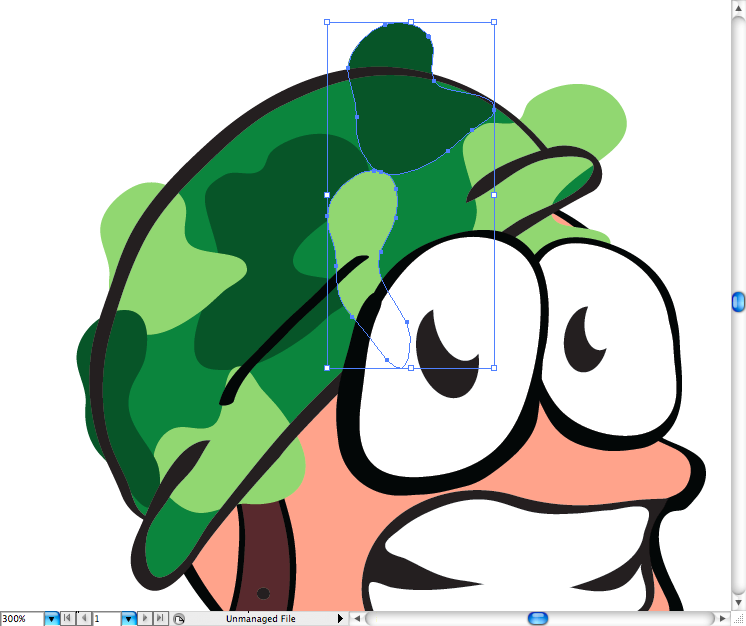
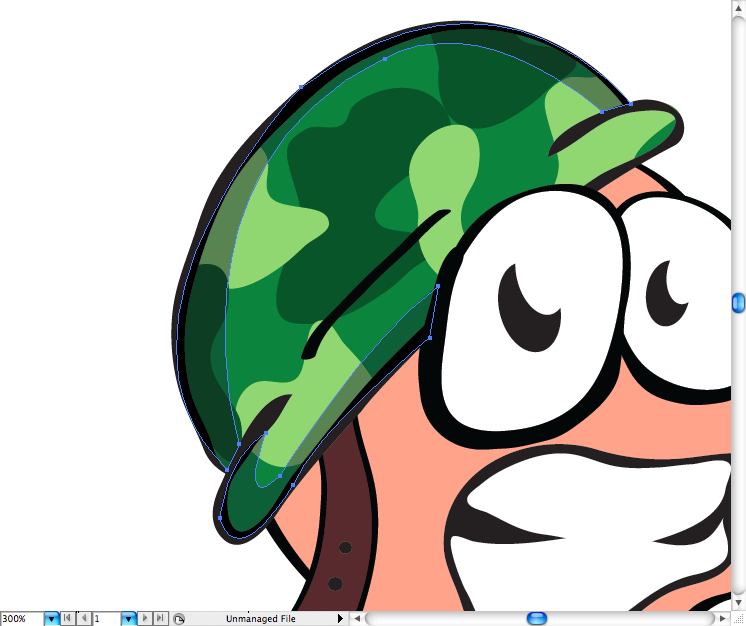
Using the pencil tool (N) create these random shapes over the helmet, use different green shades to look like camouflage.

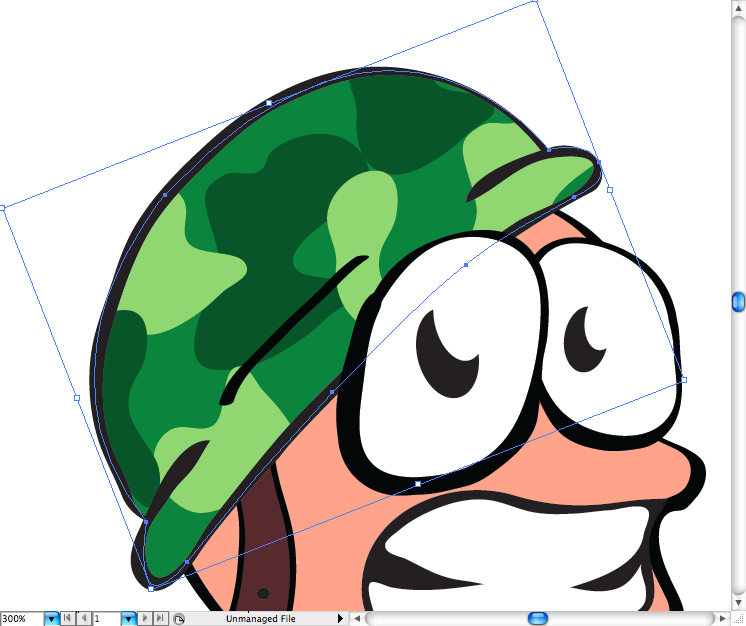
Select all them, make a trace around the helmet shape and then make a clipping mask (command + 7 / ctrl +7).

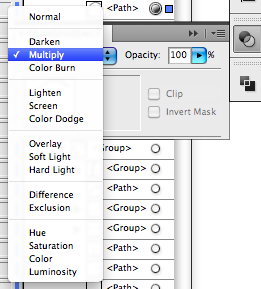
Also draw some gray shapes on the border of the helmet, select them and choose the blending mode called Multiply, pretty simple.


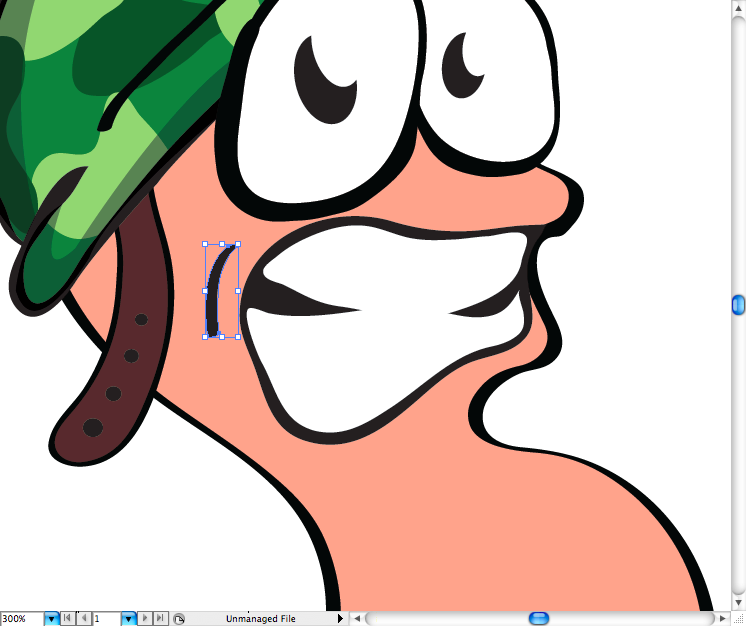
Using the brush tool (B) draw the wrinckle on the cheek and the chin of the Worm.


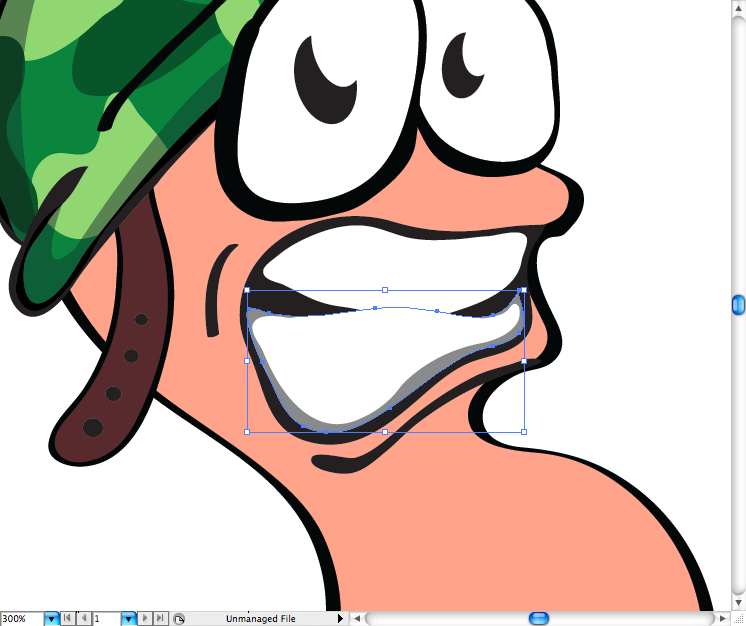
Using the pencil tool (N) draw some shadows on the teeth, then made a clipping mask over it to fit in.


Make the eyebrown by using the pen tool (P), add a white fill on it.


Repeat the same technique of shading used on the teeth on teach eye, it's pretty simple, should no take much time of you.


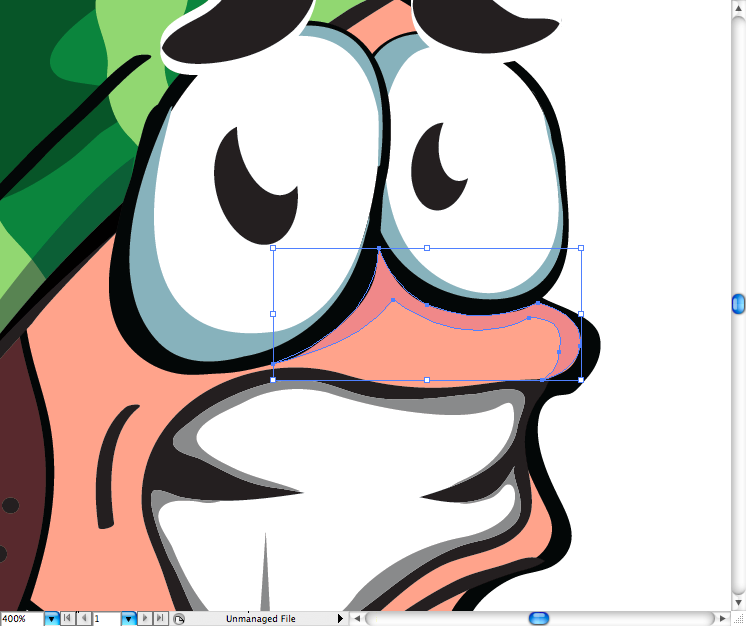
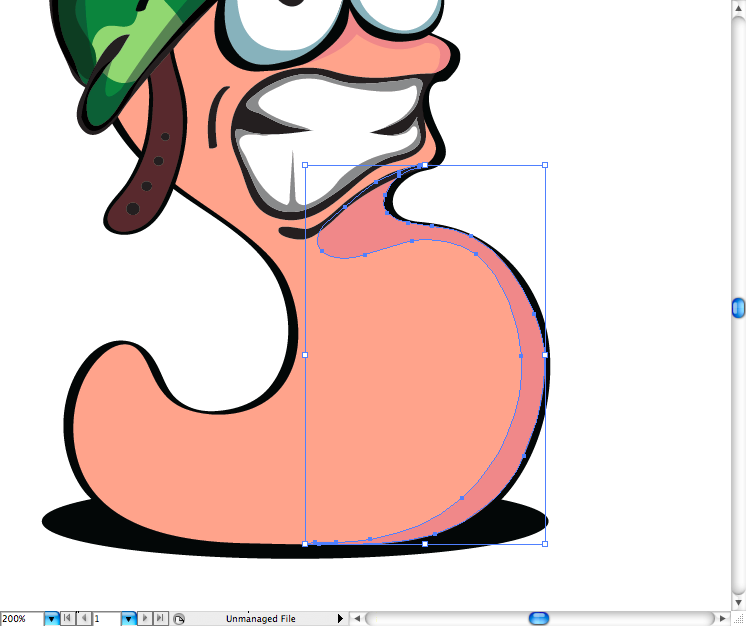
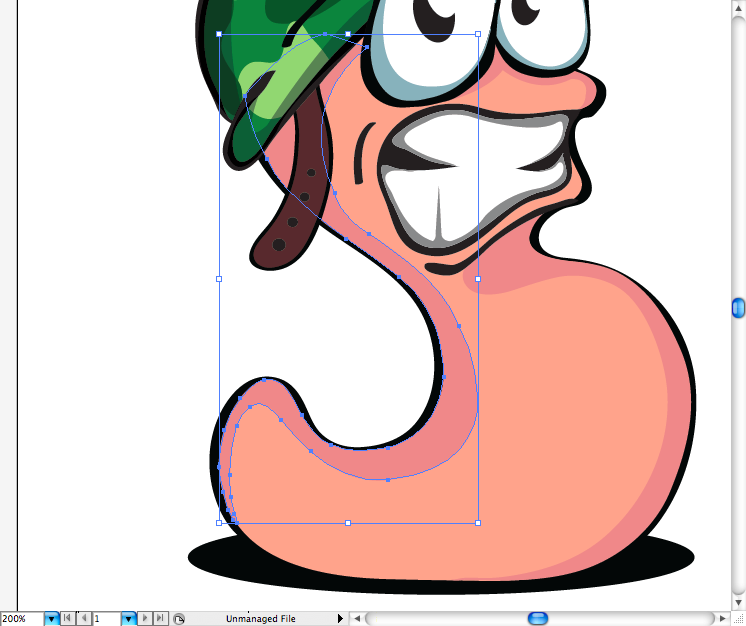
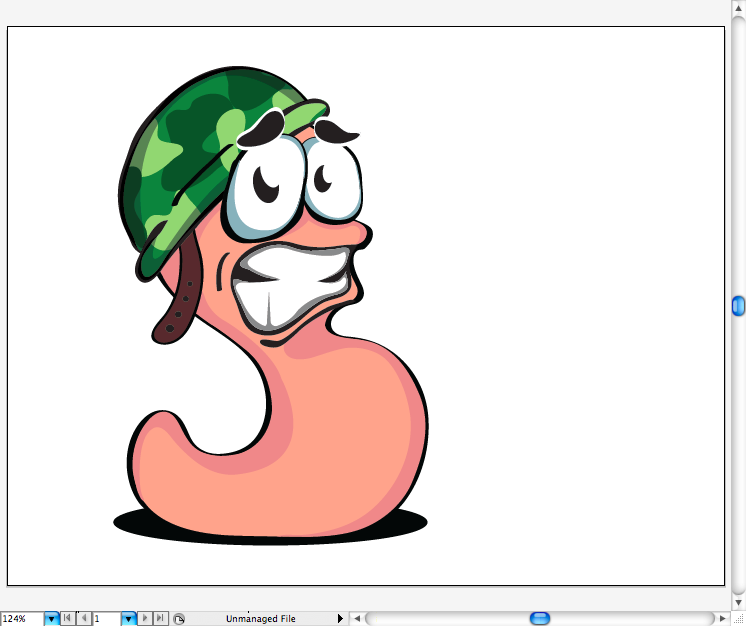
Let's add some shades on the body, Use a darker beige color for this. As you can see,Be specific about the lightning, as it should make sense. So the eyes, chin and helmet generate shadow on it's body.


OK, the worm is done.

The Dynamite
Using the pen tool (P) draw this dynamite body.

Using the ellipse tool (L) make the shadow of it.

Trace the top of it to make a top, then added a darker red.

Using the brush tool (B) you can draw the fuse.

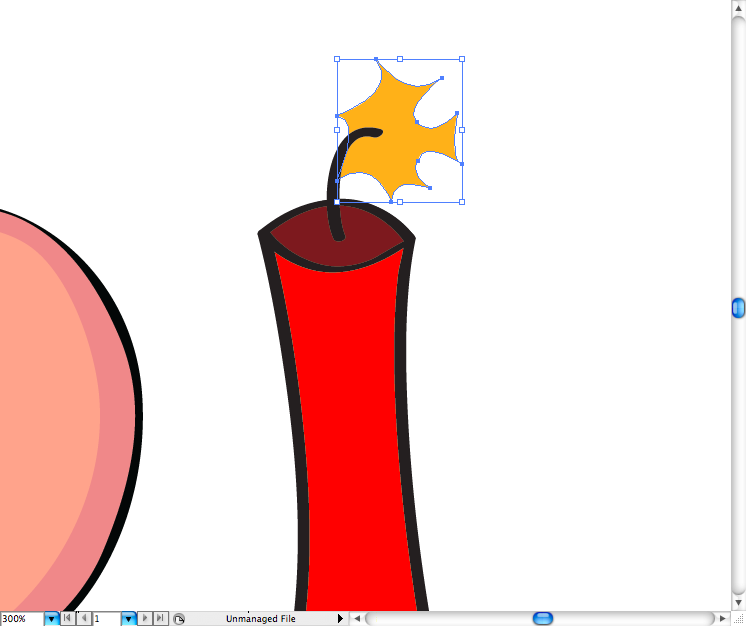
The sparkle can be drawn using the pen tool (P), then just copy it, rotate it, re size it and add a orange fill.


Also added some lights on the right side using the pencil too; (N).

Made the same on the left side to make the shadow, that's it, it's finished.

Conclusion
Hope you guys digged this tutorial and learned some quick tips on making simple illustration.
Tutorial Author: Marcos Torres


0 comments:
Post a Comment
Your precious comments/critics will help this site improve