Showing posts with label Adobe Photoshop. Show all posts

ROUGH WOOD PLANKS TUTORIAL

ROUGH WOOD PLANKS TUTORIAL
A tutorial for,How you can create a rough wood texture using Zbrush, 3DS Max and Photoshop. This can be interesting if you want to make a totally handpainted texture as well. There are just a couple of layers you can make differently to create a more stylized handpainted texture.All that is included in the .PSD at the bottom of this page.


INTRODUCTION
This is a very rough type of wood and I would usually not bother going into Zbrush to create a smoother type of wood surface.

As with all material types there are a lot of different types of wood, for instance you could have a painted wood with thick layers of paint where the normal and specular/glossiness is very important, or you can have a very smooth polished type of wood where you almost have a glass like surface. In this tutorial I did not even bother to create a separate glossiness map as it would have been very matte (dark) anyhow I though I would not gain too much on using that. I also used some color in my specular map, only some engines have support for this but it can definitely help making your material more interesting.

HIGHPOLY
So I decided to create two different planks where I go through each side in Zbrush, I will then place them out in 3DS Max one by one and rotate them so I get a unique side for each plank.

It is important to try and have an even tesselation on this to make the details come out as good as possible in the sculpting process. This was really easy on these two planks, I could just split them up in perfectly square faces.


Then I tesselated them a fair bit, around 70000 triangles for each plank. You can of course do this in Zbrush if you prefer.

I exported both planks to the .OBJ format and imported into Zbrush.


I did tesselate them a bit more in Zbrush as I noticed they would need more detail, so here I am working with about 2 million triangles, which is really pretty overkill for the end resolution I am going to use.

There is a great feature in Zbrush that lets you hide selections you make. You can hide whole objects or even just parts you select. Press "shift+ctrl" and drag a selection over whichever part you want to hide, if you release shift you will hide everything BUT your selection. To unhide everything again just hold down "ctrl" and click outside the canvas.


If you have read any of my other Zbrush material tutorials you will be pretty familiar with the "Mallet Fast Brush" probably. I use this brush for almost everything since it is a really quick way to deforme some edges.
So here I start draging a few brush strokes on the edges. Imagine a very old wood beam here, perhaps something used on an old wooden ship or similar. Try to use a pretty high intensity and a low focal shift while sculpting this.

Repeat this step on all sides of your planks.


Next up is to get some actual wood grain cracks in here. I find the easiest way of doing this is to use the "Projection Master". I then use a "Free Hand Brush" and while using a low focal shift I mix using ZAdd and ZSub settings on my brush strokes.

I drag out long brush strokes over the whole plank pretty slowly while trying to go a bit up or down when close to the edges, if you are a bit careful here you will start getting some nice cracks out naturally when draging brush stroke on top on brush stroke and repeating that.


Once you feel happy with the previous step we will need some finer wood grain as well (this is of course if you are going for that style, some more soft handmade wood style would probably benefit from just moving on from the previous step and import that right into 3DS Max). I use the same technique here as above, just using smaller brushes with a lower intensity. Remember you can exit the Projection Master any time and add as many layers as you want with it (but be a bit careful, sometimes it can "damage" your previous details if you go on too strong in the Projection Master).


After the above steps I import the exported file from Zbrush into 3DS Max (you may want to optimize it before importing it to 3DS Max tho, a great tool I usually use for this is Meshlab, Then, I make duplicates of my two planks using "Instance" and rotate them so no two planks are the same. After that I rotate and offset each plank a bit to help add some more depth.


TEXTURE MAPSI start off with a very simple base where I just draw out the edges of the planks and vary up each plank a bit.


I rendered out an ambient occlusion map from the highpoly in 3DS Max at the same time as I baked out the normal map.

I also used xNormal's "Normals2Cavity" function on a copy of my baked out normal map, OR you can use the "Cavity from normal" action in my Photoshop actions pack (big thanks to Teddy Bergsman for creating that particular action), it will give you a very similar result. Just run the action on a copy of your baked out normal map. 

I did blur and edit my result a little bit by hand as well, just making certain areas a bit stronger and some more subtle. When done put your ambient occlusion map to multiply blending and the cavity map to overlay blending.


Here I made a mask out of my ambient occlusion map, however I inverted it so I basically masked out the egdes a bit. As you can see I used a photo overlay here but on the next step I show that you could just replace this step with a handpainted base.

I surface blurred the photo and edited it quite a bit painting over some weird things and tweaking the hue.


Here is an alternative way, I simply picked a few different colors and painted some long brush strokes using a fairly sharp brush with a pretty low opacity. Of course you can take this really far if you want to add some knots and details like that in your diffuse.


When the other layers (except any photo layers) are applied the end result feel pretty stylized.


Moving over to the specular I did decide to use some color in this specular and I find some subtle blue green can work for a rough and weathered type of planks.

I am using very subtle colors here, and usually I find that if you do not have support for specular color in your engine, perhaps there is support for tinting the whole black and white specular, and you can get really far with that.

Where it really makes a difference is on materials such as bronze and gold tho, but for general metal it can be a very welcome addition as well.

The biggest downside is that you will need all your RGB channels for a color specular, while if you were going for black and white specular maps you can add a glossiness map in one of the channels and have the specular in one and then even have one channel free for other funky stuff you can think of.

So as an example you could have the specular intensity in the green channel, the glossiness in the red channel and a cube reflection map, emissive map, detail map or anything else you may need for this particular material in the blue channel.


At last we have the normal map left. I did generate some high frequency details using the nVidia Photoshop filter from the photo overlay I was using before. Again, if you are going for a more soft handpainted look you may want to skip this one all together.

The last thing I add to get some more interesting depth when the material is lit is to add a subtle roundness to the planks. You can vary this a lot, but I find having an outgoing bevel like this work for most type of planks, you just make it more or less subtle. I generated this using the nVidia filter again on a base that looks like the black and white part in the image below, where I just made a small selection of a black and white gradient and copied it up 8 times and use a pretty high filter type in the nVidia filter (something like 7x7 or 9x9).


Finally, the finished texture maps. As I mentioned earlier I did not make a per pixel glossiness map for this one, instead I used a low value for the overall glossiness. Some engines support this type of value based input for surface slots. Like in the Unreal Engine you can add a constant to any slot you want.


This is the result with the maps applied.

Download the .PSD


Tutorial by Philip Klevestav

View Details

Creating 3d depth with 2d images in After effects

Adobe After Effects for Commercials and Animations
 If you know much of Adobe Photoshop and less of Adobe After effects, this technique might just be for you, many commercials and animations use this to give a effect of a 3d environments but in fact its just layers of Photoshop moving in front of each other,watch the videos and try it for yourself.


This tutorial is by Andrew KramerR 
View Details

Photoshop Tutorial To Enhance Photos and Still Keeping Skin Pores


Photoshop Tutorial To Enhance Photos and Still Keeping Skin Pores

Clients that attend bridal studios or professional photographers want to look good in their photos. But they also want to look real. They want to look like themselves (but with a few enhancements).

They did not have the ambition to look like models in magazines but unrealistic when compared to them. Reducing or minimizing (not removing completely) some of their flaws, like wrinkles, dark circles, or moles, and improving their best qualities, like the color of their eyes or hair, is the basic use of Photoshop.

Using too much Photoshopping is not only unnecessary, but what’s worse is that the valuable expressions captured in the moment by the photographer are erased in Photoshop when the smile lines or wrinkles are removed. Some easy to follow tutorials result in blurry (pore less, featureless) skin.

However, some really good tutorials are hard to follow, with many complicated steps. Here is a simplified guide on How to Get Your Photos Enhanced Without Having To Learn All The Tools In Photoshop.


Lets Start!

1. Open the image in Photoshop

2. Duplicate
Duplicate the Background layer by dragging the background layer to the small symbol new layer on the bottom right of the Layers palette.


3. Stamp
Still on the duplicated layer, use the Stamp tool to reduce the most visible flaws. Use the alt key to pick the sample (use the closest color of the skin), then stamp on the skin we want to improve. For dark circles combined with wrinkles, stamp only at the edges to smooth the difference. The less you use the stamp the better. Usually I use a relatively big brush, but with low opacity. For an unwanted spot, use the right size, just enough to cover the spot with a higher opacity.


4. Duplicate the Background Copy Layer

5. Blur Current Layer with Gaussian Blur
Radius 1.5 Pixels


6. Add Noise To It
2.45% Gaussian


7. Move
Move current layer (Background copy 3) below Background copy 2.

8. Click On The Mask Tool
And use the black brush (in mask mode) to reveal the layer underneath, which is the smoothed version. Leave the eye brows, eye lashes, eyes, and lips, outlines untouched.


9. If The Dark Circles Are Too Dark
Use the square tool to select the eyes, copy and paste to a new layer. Use the Levels option (Ctrl+L) to lighten the skin around the eyes.


10. Apply A Mask On The Eyes Layer
And use a brush to remove the edges and the inside of the eyes. Now you can see that the skin under the eyes is the same brightness as the other part of the face.


11. Repeat (optional)
If the face is not smooth enough, feel free to duplicate Background copy 3, and repeat step 5 with a higher number, followed by step 6. Adjust the opacity of the layer until the result is satisfying. The lower the opacity, the closer it is to the actual picture.


12. Duplicate The Layer For The Hair Enhancement
Use levels to enhance the brightness and contrast of the hair. Pay no attention to the face: it has no effect because we will use this layer for the hair only.


13. Move The Hair Layer One Backwards
Apply mask and brush on the face layer to reveal the enhanced hair.


14. Repeat 12 and 13 With The Eye Color and Brightness

15. That’s it
Now you have a natural-looking photoshopped picture.


Conclusion
People in the ‘real world’ (particularly women) want to look natural. The above techniques will help you achieve this whether its your own photo or someone else’s. Noise is a good tool to replace skin pores in a small to medium size images.
View Details

Adobe Photoshop Tutorials for Beginners [A Beginner’s Guide to Photoshop Masks]

A Brief Overview of Photoshop Mask

I’m sure everyone here knows what a Mask is and what it is used for in real life – it hides things so people can’t see what is behind the mask. Photoshop mask works exactly the same way.

View Details

Adobe Photoshop Tutorials for Beginners [Use and Create Brushes in Adobe Photoshop]


The tutorial will show you how to get and use brushes. Then how to install them, and finally how to use them. The second part of the video is how to make your own brush.


View Details

Adobe Photoshop Tutorials for Beginners


5 Steps of Photoshop a Beginner should know
In this post, author will provide 5 Simple, Yet Useful Photoshop “How-to”s for Absolute Beginners. Take a look and hopefully you will see after all, Photoshop is not that hard to start with!
View Details

25 Photoshop Techniques Every Designer Must Know

One of the best things about Photoshop is that you never stop learning. There are countless tips and tricks to help boost your productivity and work flow some are obvious and easy to find while some you have to dig a little to seek them out. In this post I’m going to reveal 25 of the best advanced techniques to help you design faster and better within Adobe Photoshop.

View Details

Wacom's New 24HD Cintiq


Like to draw? How about drawing on a 24-inch digital screen? Wacom announced the Cintiq 24HD. At 24 inches, it’s Wacom’s largest interactive pen display so far.
The 24HD features a built-in 24-inch screen, which sports 1,920-by-1,200 pixel resolution. It has a 178-degree viewing angle, and 16:10 widescreen aspect ratio. The display can also be color calibrated for color-sensitive workflows.
There are 2,048 levels of pen pressure sensitivity, allowing the 24HD to detect even a single gram of force. The included Cintiq Grip Pen has a comfortable, contoured barrel that provides a natural alternative to using a mouse. Wacom also includes a number of pen nibs (tips) that are made from a variety of materials. In addition to the Standard nib, the Stroke nib includes a dual-action spring to simulate a natural brush-like feel, and the Felt nib replicates the sensation of using a felt-tip marker.
That large screen does have a downside. The 24HD weighs a whopping 63.8 pounds, which means it isn’t too portable. Still, Wacom has integrated a number of features to make the 24HD suitable for using it in a permanent workstation. The display is attached to a counterweighted stand that allows you to easily adjust its position. You can adjust the position of the stand so that the display overhangs the edge of your desk, allowing it to sit in your lap.
The 24HD also incorporates a number of new productivity features. Finger-size Touch Rings positioned on either side of the display can be customized to perform functions such as zooming, scrolling and changing brush size. There are also ten customizable Express Keys, in addition to the pen side-switch, which can be set for application specific short-cuts and modifiers.
The Cintiq 24HD is available to order from Wacom starting today for $2499. For comparison, the 21-inch 21UX costs $1999 and the 12-inch 12WX costs $999.
View Details

How to install Brushes in Adobe Photoshop

Downloaded the photoshop brushes ? and wondering how to install them to start brushing ? These 3 steps will guide you how to get them working...
View Details

Creating Colorful Swooshes in photoshop

Easy to understand, tutorial using photoshop brushes to come up with an abstract wallpaper effect with colorful swooshes that look like they are electric.
View Details

Disco lights and Glitter - Photoshop

Disco Glitter lights done is Adobe Photoshop, a perfect example showing glass and reflections if you were to do it in photoshop. Download, try it or modify it. use your own color theme to make it even better...
View Details

Pen Tool tutorial - Photoshop, Illustrator

One of the Most powerful tools in Photoshop and illustrator - The Pen tool, yet many designers try to avoid it, since they think its complicated and as not easy as using the brush or eraser. This freindly tutorial will take away the fear of using the pen tool by its simple guidelines of "How to use a Pen" in Photoshop and illustrator.
View Details

Creating Awesome Eyes in Photoshop

Watch step by step video of making eyes more beautiful in photoshop, its a beginner level video so no harm in tryin it in one of your pictures !
View Details

Creating Floating Pieces of Land - Photoshop

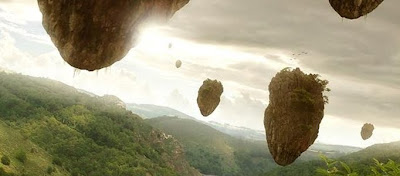
You may wonder how to create a non-gravitation scene like space. The best way is to put the something natural flying on the sky such as tree leaves and stone. If you key the leave or stone directly, it may not look realistically. You have to use some photoshop skills to mix them together.


View Details

Photoshop CS3 Killer Shortcuts


Half the time we work on computer is taken by looking at menus, buttons and clicking them, you can be more productive and fast if you be handy with shortcuts on your keyboard,
View Details

Character Modeling in 3dsmax

Modelling a Character can be a very challenging process, but can be done if the entire process is determined step by step, its like having more than a process like sketching, modelling, rigging, lip syncing, texturing and finally the lighting.
View Details

Create Your Own Business Card Easily


Whatever profession you’re in, there’ll come a time when you’ll need your own business card. This graphic design tutorial will show you a way to create a standard two-sided business card design in Adobe Photoshop that you can take to your printer.
View Details

New Photoshop Icons (2010)

This Collection of Photoshop icons will surely give you a new feel and refresh you from the classical look, Make your desktop beautiful and smart and it might be a start of your creativity...

Incase you dont know yet how to change icons , this easy tutorial would help
View Details

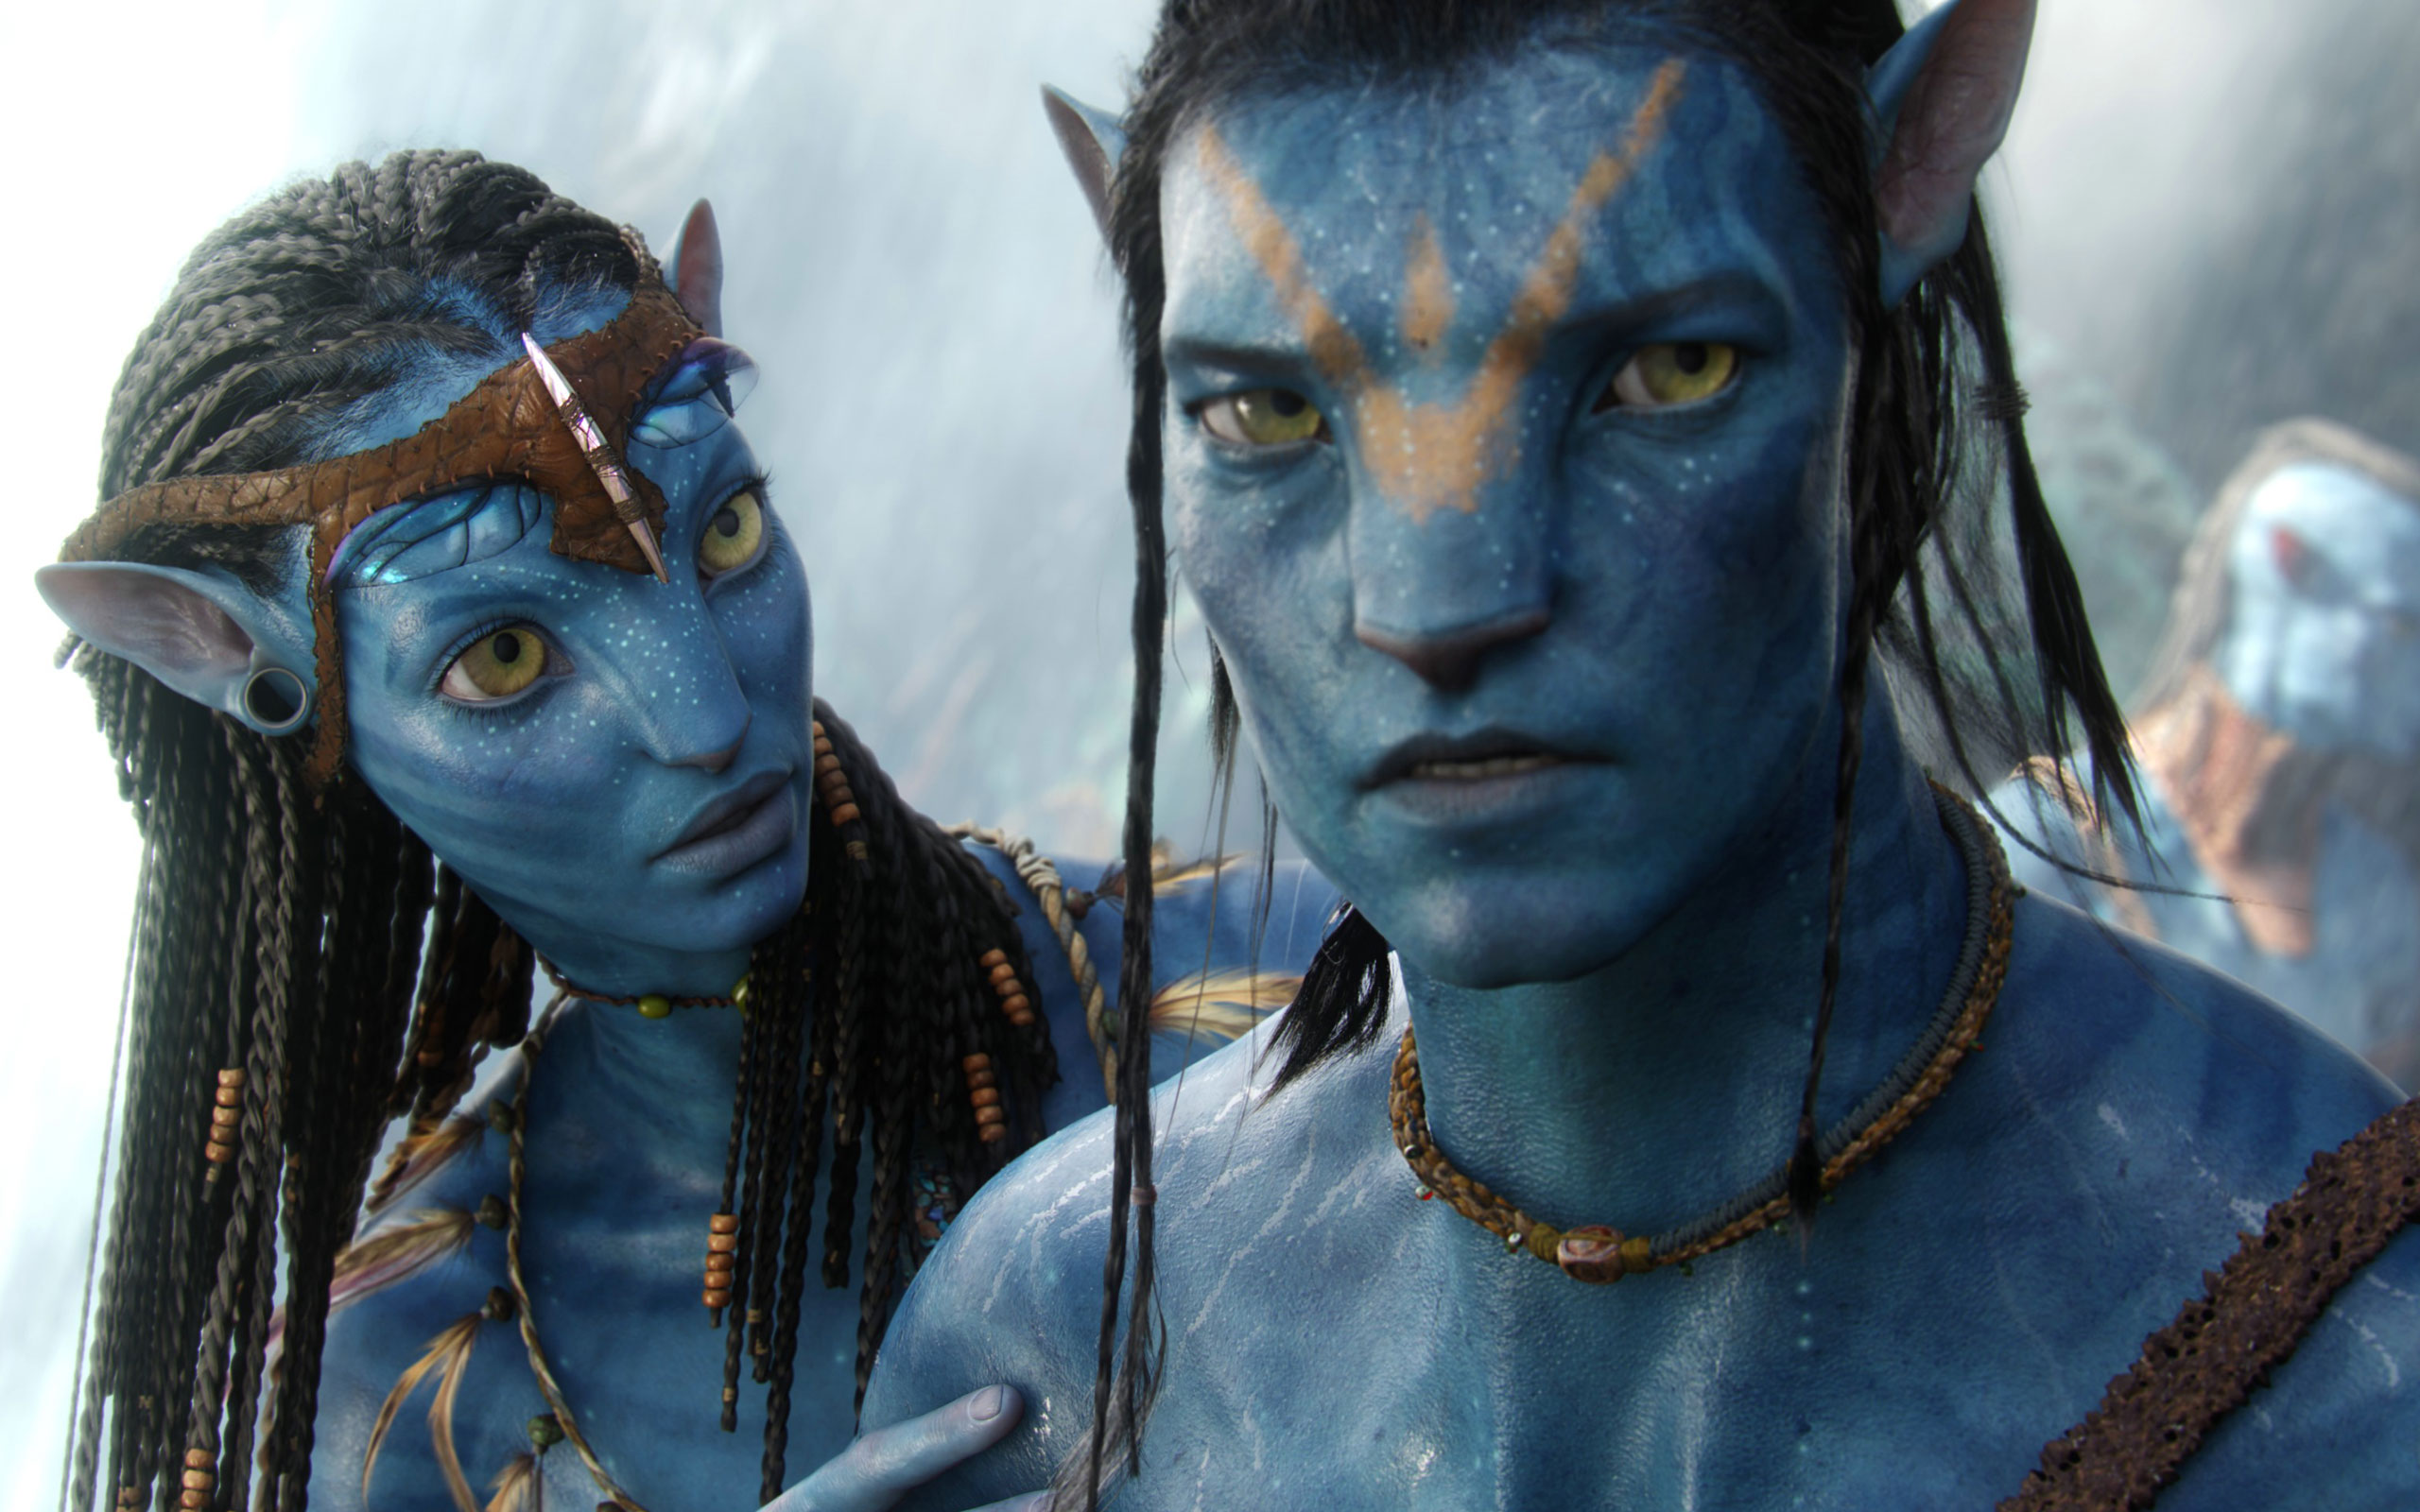
3d Softwares in the making of Avatar - Wallpaper & Models Download

Avatar has captured the imagination of millions of people from around the globe. Creating a completely new world from scratch, one with hundreds of species of flora and fauna and breathtaking landscapes is a daunting task that Cameron completed with flying colors. Let’s see what companies and software were involved.

Although usually only big names like Weta Digital or ILM are mentioned in the making of high-budget CGI, there are always tens of companies involved (possibly hundreds considering that work often gets outsourced), with thousands of digital artists, 3d modelers, animators and compositors working to bring the script to live.
It’s also too bad that many of the companies (the ones involved in the production and the ones making the software) do not promote their software more. Adobe was the quickest to show how their line of software was involved, even though it wasn’t really crucial to the project and this is why I decided to make a list and try to give proper credit to everyone involved.

For Avatar, these are the companies credited for the visual effects:
  • Weta Digital, New Zealand (most of the work, character modeling, animation, rendering)
  • Industrial Light and Magic, USA (180 non-character shots, mostly the human aircraft in the final battle)
  • Stan Winston Studios (most of the props, including the Ampsuit and the Samson helicopter)
  • Framestore, UK (70 shots of the Hell’s Gate)
  • Hybride, Canada (graphics for the link room)
  • Prime Focus, USA (design and compositing of the control room screens, HUDs, etc)
  • Look Effects, USA (compositing)
  • Hydraulx, USA (digital extension shots of crematoria and cryovault)
  • Giant Studios, USA (motion capture)
  • Blur, USA (4 space shots of ISV Venture Star)
  • Pixel Liberation Front, USA (screens and HUD design)BUF (the conscience-transfer tunnel)
  • Lola VFX, USA (digital cosmetic)

And here are the main software used:
  • Autodesk Maya
  • Pixar Renderman for Maya
  • Autodesk SoftImage XSI
  • Luxology Modo (model design, e.g. the Scorpion)Lightwave (low-res realtime environments)
  • Houdini (unknown area)
  • ZBrush (creature design)
  • Auodesk 3ds max (space shots, control room screens and HUD renderings)
  • Autodesk MotionBuilder (for real-time 3d visualisations)
  • Eyeon Fusion (image compositing)
  • The Foundry Nuke Compositor (previz image compositing)
  • Autodesk Smoke (color correction)
  • Autodesk Combustion (compositing)
  • Massive (vegetation simulation)
  • Mudbox (floating mountains)
  • Avid(video editing)
  • Adobe After Effects (compositing, real-ime visualizations)
  • PF Track (motion tracking, background replacement)
  • Adobe Illustrator (HUD and screens layout)
  • Adobe Photoshop (concept art, textures)
  • Adobe Premiere (proofing, rough compositing with AE)
Countless plugins for each platform, some of them Ocula for Nuke, Ktakatoa for 3ds max, Sapphire for Combustion/AE.
The list of tools is not exhaustive and you can see there’s overlap in capabilities, depending on each company’s pipeline.

Download HD Wallpapers of Avatar HD Avatar Wallpapers


This 3D model of avatar can be download from here

View Details

Photoshop Digital Cosmetic Surgery


Beauty may be in the eye of the beholder, but a beautiful face is generally thought to have symmetry, and a healthy youthful appearance. Almost all images of people published in magzines are retouched.You can mimic symmetry and a healthy youthful appearance by applying these simple steps.
Get the complete Tutorial here.
View Details
Related Posts with Thumbnails

Inspirations

Total Pageviews

Followers


Sultan Yaqub Copyright © 2009 Sultan Yaqub